Failed to Read from DHT Sensor | What are the Reasons & Solutions?
The DHT line of sensors is used as temperature and humidity sensors. Though slower in action compared to other sensors they have advantages too. That includes low power consumption and splendid long-term stability. But due to it’s low cost, at times these sensors malfunction and it becomes impossible to get a read from them.
What are Nan Readings?
If the DHT sensor, in most cases the DHT11 or the DHT22 sensor returns an error message “Failed to read from DHT sensor” or the readings return “Nan”, it means that the DHT sensor has some form of troubleshooting is needed.
How to Troubleshoot the DHT Sensor?
To fix a malfunctioned sensor going through the following steps of tips would be the best way to deal with the problem.
Wiring
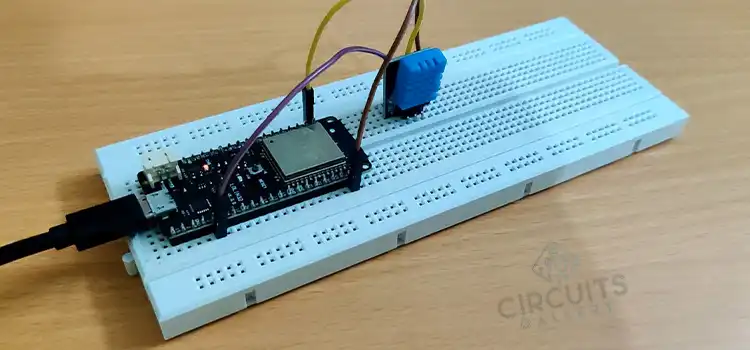
Working with any electronic device, the wiring on the pin assignment must always be double-checked. Testing to see if the circuits are properly connected. If it doesn’t work then the fault remains somewhere else.
Power and It’s Sources
On a DHT sensor, the operating range for DHT11 is 3v to 5.5v and for DHT22 it is 3v to 6v. So if it’s powered by a 3.3v pin it may not work properly. In some cases powering it with 5v solves the issue,
Often times powering the ESP32, ESP8266, Arduino, or any similar boards directly from a PC USB may not be enough. Plugging it in an external power source that provides more current should fix that. It also helps changing the USB cable with a better and shorter one. Using a USB port with enough power supply or having a good cable often solves the issues.
Sensor Type and Sampling Rate
Double-checking the comment in the comment for the right sensor helps too. The DHT sensor is quite slow in getting the readings (may take up to 2 seconds). So for some instances increasing the time between the readings may solve the problem
DHT Sensor Fried or Broken
These cheap sensors often times look fine but unfortunately they are fried or broken. So even if the right circuit has been assembled and right code has been written it will fail to get a reading. Using a different type of sensor may fix the issue.
Wrong Baud Rate
If nothing pops up on the Arduino IDE Serial Monitor, it should be double-checked if the right baud rate, COM port has been selected. It should also be checked that is the right code has been uploaded successfully.
A Fatal Error
A common error that happens often is that when the code is being compiled this particular error pops up:
” fatal error: Adafruit_Sensor.h: No such file or directory #include <Adafruit_Sensor.h>”
It means that the Adafruit Unified Sensor Driver Library needs to be installed. In the Arduino IDE type and search “Adafruit Unified Sensor”. To which a window will appear and at the end of it there’s library to be installed. After the library is installed and the Arduino IDE is restarted the code should compile without any error.
Conclusion
While the DHT sensors are great for home projects with its relatively high accuracy, long-term stability and low cost it also have downsides. And much of those downsides are due its cheap production cost. So when using this sensor it is better to expect some problems and be ready to apply the mentioned tips to solve the issues.
Subscribe to our newsletter
& plug into
the world of circuits