How to Check Continuity in a Long Wire? | A Detailed Guide
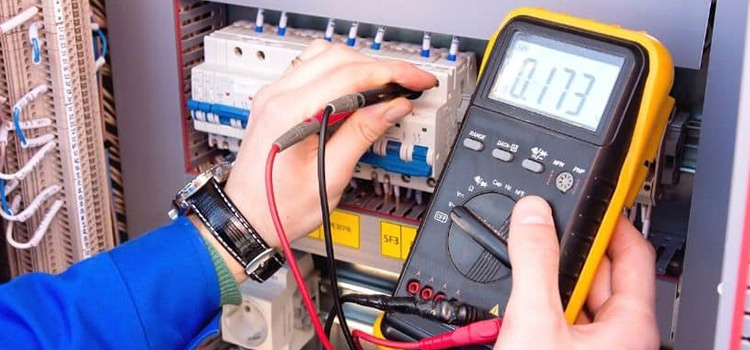
First, make sure to disconnect both ends and set your multimeter to the lowest resistance with a tone. Set a meter lead on either end of the wire. Your readings should be as low as possible and emit a tone for a continuous wire.
Steps to Check Continuity in a Long Wire
Wire continuity is essential and can reveal whether or not two electrical components are connected correctly. A non-continuous wire is responsible for a non-functioning circuit, a sudden power shutdown, or other problems in your grid. Securing the continuity of the wire is the main thing to do beforehand.
Consequently, you can efficiently perform a continuity check in a long wire with a multimeter. To check the continuity in a long wire, you need to follow the steps mentioned below:
Step 1: Disconnect both ends of the longer wire to be tested. It is to ensure that the power going to the wire is off.
Step 2: Configure the multimeter and set it to lower resistance to track the ohms of your wire.
Remember to turn the device’s dial into a continuity test mode because your only interest is to know the continuity in wire energy. So, focus on this objective.
Step 3: Prefer the “continuity” option on the multimeter to the other options. The resistance value in the wire must be stable no matter how high or low it is. If you don’t see continuity signals on your multimeter (resistance keeps going up and down), you need to find the problem of your wire & solve it.
Step 4: Now, use the COM plug by placing one end of the wire and the other at the grounding to test continuity. You have to set the wire properly in this socket or use the contact points to hold tight. Modern multimeters don’t have COM sockets but only contact points.
Step 5: Make sure to connect the other end of the cable into the V plug. With the red cord that you have available, you must place it inside the V socket that the multimeter has. You can contact this other key to know if this element’s continuity is finally good. You can also use some multimeters’ contact points to check cable continuity.
Step 6: Check the power
While checking continuity in a long wire, you have to check the power thoroughly. It would be best to have a dead circuit by placing the red and black leads into the multimeter’s jacks. You have to run some test leads on the component you are testing at the moment.
Put the meter lead on either end of the long wire. If the multimeter emits and has no resistance, you have a continuous wire. You have to examine grounding and un-grounding tests while metering continuity to verify the integrity of the wire.
Set your meter to continuity and put one lead to the ground and one to the end of the wire you are working on. Your tester will display OL as there shouldn’t be a path to the ground unless the wire is damaged.
Grounding one end of the wire and metering continuity proves the conductor’s integrity. If there were a break in the wire, you wouldn’t be able to read continuity to ground from the opposite end.
Why Do You Need A Multimeter To Check Continuity In A Wire?
It is not obligatory for short wires to use a multimeter. However, in the case of very long wires, a multimeter is a basic tool to find the presence of continuity. Because a multimeter can diagnose hard-to-find wiring issues comparatively quicker, you can tell a lot from a multimeter reading, for example, if your wire is frayed and losing its structure.
Continuity Check Without Using the Multimeter
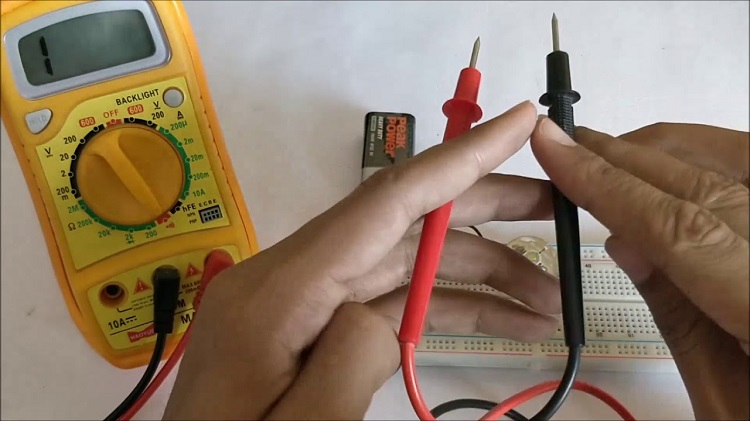
It is also possible to check the continuity of an extra-long wire without using a multimeter. You need to have a meter with an efficient battery set up at ohm or resistance range to check the electricity of the wire. Then run a probe test with your wire. However, the result might not be 100% accurate. In addition, you can apply a continuity tester method to examine if your wire is shorted to the ground.
Conclusion
Testing your wires’ continuity is mandatory if you want to detect severe electrical complications. Make sure to turn off your electrical power supply and set your multimeter to measure ohms and set the range. It’s never fun troubleshooting electrical problems. So, knowing how to check continuity in a long wire can guarantee you the best & convenient outcomes.
Subscribe to our newsletter
& plug into
the world of circuits