How to Fix a Stuck Pull Chain on Light Fixture? | A Step by Step Guide
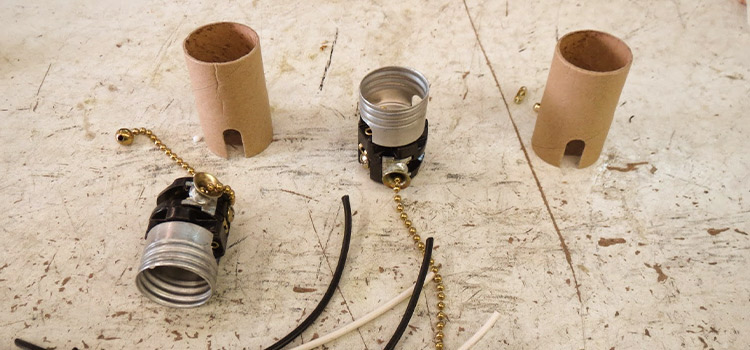
You have to replace the pull chain to fix this issue. After turning off the power, remove the old accessories and bulb, and unhook the wires. Replace them with new ones and screw them back together after reattaching the wires carefully.
If your pull chain on the light fixture is stuck, unfortunately, the only way to resolve this is to replace it. But remember to replace your old chain with something as close as possible regarding the size.

Steps for Fixing a Stuck Pull Chain on Light Fixture
Fixing a stuck pull chain on a light fixture has only one practical way, which is to replace the chain. Before you rush to call an electrician, you should know that you can do the job yourself. All you will need are the right tools and a little experience.
This section will cover how to replace your fixture’s pull chain step by step.
Step 1 | Turn the Power Off
The first thing you will have to do is turn off the power at the circuit breakers. Do it before proceeding with the replacement of the pull chain. Also, take the fixture away from the box without letting the wires touch it to avoid voltage generation.
Step 2 | Remove All the Accessories Including the Light Bulb
Once you have made sure that the power is turned off, remove all the covers and accessories from the unit by using a screwdriver. Also, remove the light bulb from the electrical box. This will make it easier for you to work with the pull chain.
Step 3 | Disconnect the Wires
Now you have to locate the wire connections and pull the chain switch to the unit. Unhook the wiring and pull out the switch. Before unhooking, you can take a photo of the connections to help hook the wires back up later.
Step 4 | Replace the Old Chain and Switch With the New Ones
Remove the damaged switch and pull out the old chain. Use a screwdriver to screw the new switch and thread the new pull chain into place.
Have a little tug on the pull chain that you have fitted and see if it is working properly. If you hear a clicking noise when pulling the chain, you should know that it is perfect.
Step 5 | Reattach the Wires
Make sure you maintain utmost care while reattaching the wires. If not done properly, the fixture could overheat and sustain damage. Also, you might get an electric shock the next time you do change the light bulb.
Step 6 | Put All the Accessories and Bulb Back Together
Take a screwdriver and screw the covers, accessories, and light bulb back into the unit. When fitting the fixture, twist it a bit to make space for the wires in the electrical box.
Make sure you do not apply too much pressure when tightening the screws. Once you are done, turn on the power at the circuit breaker and test the new pull chain.
Conclusion
It should be clear by now that fixing or replacing the pull chain on the light fixture is effortless. Moreover, the replacement parts are inexpensive and you should be able to tackle this issue by yourself. All you have to do is to follow this guide and proceed with caution.
Subscribe to our newsletter
& plug into
the world of circuits