How to Make a Hole in a Light Bulb? | A Proper Guide for You
You can make a hole in a light bulb in several ways including, melting, drilling, or by the pi-hole project. In any method, you want to start with a small section of the bulb. It is recommended to make the hole in a damaged light bulb.
Before you begin the project, you should ensure that you have all of the supplies required to accomplish it. If you don’t have the supplies, you should either obtain them or postpone the project until you do.
Ways to Make a Hole in a Light Bulb
With some easy steps, you can make a hole in a light bulb. In most of the methods, you will not be needing anything more than your household items. Additionally, most of the ways take less than five minutes. Here are the four ways described to put a hole in your bulb.
Way 1 – Melting Holes Through a Light Bulb With a Blowtorch
With a blowtorch, you can easily make a hole through a light bulb. Take a blowtorch and start the fire. Then hold it directly onto the glass bulb. You may think that the glass will shatter but it will not in most cases. Do this operation on a metallic surface and attach foil paper to make a shield.
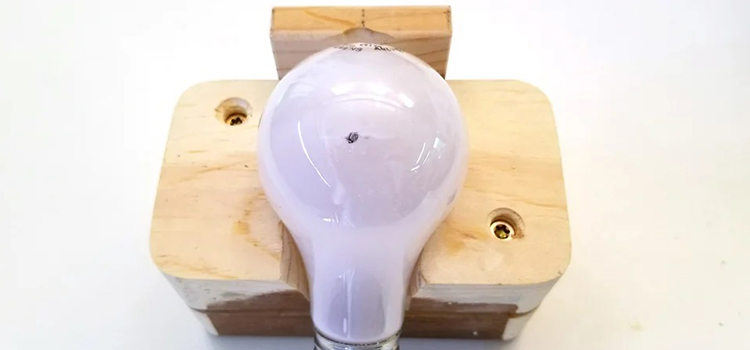
Way 2 – Drill a Hole in a Light Bulb
Place the bucket on the drill press and fill it with water. Drill a 9/16 inch or 14 millimeters diamond drill bit into the glass while keeping it underwater. To cut the hole, use mild pressure and a drill speed of roughly 1000 RPM. When the first hole is finished, spin the bulb and drill the next hole.
Way 3 – Make a Hole with a Spoon
The glass part of the light bulb should be in the palm of your hand, with the metal screw between your thumb and fingers. Wrap your hand around the bulb so that the screwed-in end pokes through the top of your fist and grip it by the metal part. Then using the spoon’s bottom, strike the metal section on the end.
Way 4 – Pi-hole Project
In this activity, children will create their own Pi-hole, with as many or as few holes as they choose. The bulb can then be used as a tool to measure the circumference of the hole that has been formed.
Step 1 | Freeze and Dry the Bulb
Place the bulb in a glass of water to freeze. Then, using a soft towel, wipe any remaining moisture from the bulb and allow it to air dry properly. Make a cylinder out of the bulb and mark the center with a piece of tape. Cut a rectangle piece of electrical tape, about 1 inch wide and long, and about 12 inches apart.
Combine one cup of powdered sugar and one cup of warm water in a small mixing dish. Pour the sugar mixture into a container large enough to catch the dripping water (you can use a big muffin tray for this). Dip a soft towel in the sugar water to absorb any spilled sugar that may have landed on it.
Step 2 | Tape the Light Bulb
When you push on the ends of the tape, you should hear a loud popping sound, which indicates that the glue hasn’t yet been set. Allow the binder to set for a few minutes before removing the bulb from the water.
If you hear a popping sound, it means it’s stuck, so carefully remove the plastic around the edge and flip the bulb back onto the other end. Pinch the ends of the adhesive tape and gradually peel it away from the bulb’s tip. Cut the tape into 3 inches lengths, these will be used to attach the light bulbs as illustrated.
Step 3 | Heat and Setup the Bulb
Heat your home to 100 degrees Fahrenheit for 24 hours. (There should be no one in the home.) Place the light bulb in the center of the home. Allow the bulb to heat up. Make a snow mound around the bulb. Allow the snow to melt. Remove the light bulb with your bare hands from the hole.
Hollowing Out the Bulb
Cut the metal contact from the bottom. Then, crack the brown glass insulator with a screw or a knife. If you look inside, you’ll notice a fill tube. Remove it by breaking it off. Using needle tip pliers, remove the filament and any debris. For added safety, use a Dremel to smooth down the glass edges on the inside.
Rinse the powder with water. Using wire wool, scrape away the writing. This is perhaps the riskiest task with a bulb. The bulb has the potential to break. Put on your gloves!
Frequently Asked Questions
What kind of torch is used for glass blowing?
The National Hand-torch Type 3A Blowpipe depicted is a torch that is widely used in glass blowing. This reasonably priced torch with tip sizes number 2, 3, 4, and 5 will meet the majority of your requirements.
Conclusion
As you will be working with glass, you need to be safe. Be sure to have safety gloves on your hand and lab goggles to protect yourself from glass parts. After making the hole in the bulb, clean the area where you did the project.
Subscribe to our newsletter
& plug into
the world of circuits