LCD Ribbon Cable Repair Methods | [3 Fixes Detailed]
LCD screens are an essential part of many electronic gadgets, such as televisions, laptops, and smartphones. The ribbon cable that links an LCD’s panel to the main circuit board must operate properly for the display to function.
This can be done by soldering, applying conductive adhesive, or simply using tape. We’ll look at several LCD ribbon cable repair techniques in this article that can help fix broken connections and guarantee the best possible display performance.
Methods of Repairing LCD Ribbon Cables
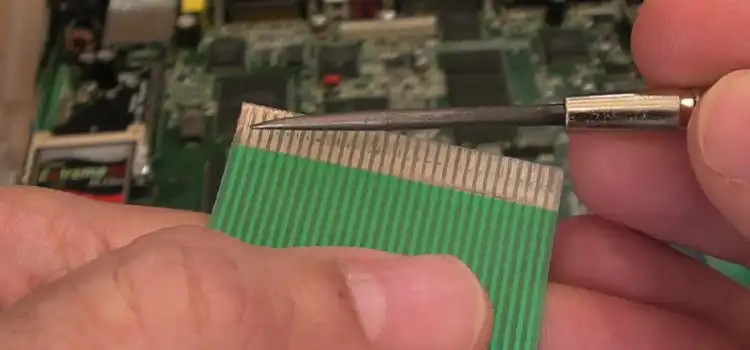
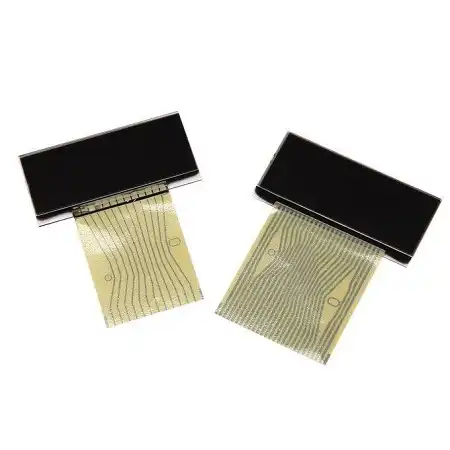
LCD ribbon cables are thin, flexible cables that connect the LCD panel to the driver board. They are prone to damage, which can cause a variety of problems, such as flickering, distortion, or complete failure of the LCD. Fortunately, there are a few different methods that can be used to repair LCD ribbon cables.
Method 1: Soldering
Soldering is the most common method for repairing LCD ribbon cables. It involves using a soldering iron to melt solder and connect the broken wires. This method is relatively easy to do, but it requires some precision and care.

Steps:
Gather the necessary tools and materials:
- Soldering iron
- Solder
- Flux
- Magnifying glass
- Tweezers
Prepare the workspace:
- Clean and well-lit area
- Stable surface
- ESD-safe mat
Clean the ribbon cable:
- Remove any dirt or debris from the broken wires
- Use rubbing alcohol to clean the contacts
Apply flux:
- Flux helps the solder flow smoothly and adhere to the wires
- Apply a small amount of flux to the broken wires
Tin the wires:
- Heat the soldering iron and touch it to the tip of the solder
- Allow a small amount of solder to melt onto the iron tip
- Touch the soldering iron to the broken wires to melt solder onto them
Align the wires:
- Carefully align the broken wires end-to-end
- Use tweezers to steady the wires and ensure they are properly aligned
Solder the wires:
- Hold the soldering iron steady and touch it to the junction of the two wires
- Apply a small amount of solder to melt the wires together
- Allow the solder to cool completely
Test the connection:
- Gently flex the ribbon cable to ensure the connection is secure
- Connect the ribbon cable to the LCD panel and test the display
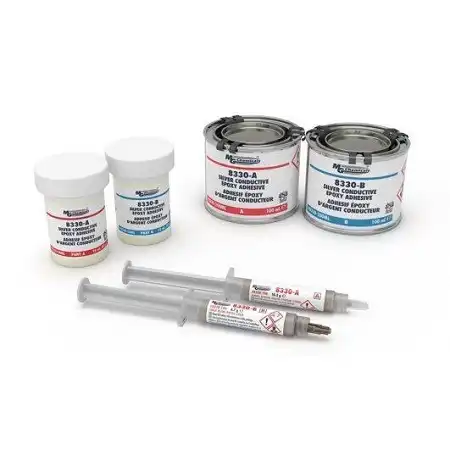
Method 2: Conductive Adhesive
Conductive adhesive is another method that can be used to repair LCD ribbon cables. It is a good option for repairs that are too small or delicate to solder.
Steps:
Gather the necessary tools and materials:
- Conductive adhesive
- Toothpicks
- Magnifying glass
- Tweezers
Prepare the workspace:
- Clean and well-lit area
- Stable surface
- ESD-safe mat
Clean the ribbon cable:
- Remove any dirt or debris from the broken wires
- Use rubbing alcohol to clean the contacts
Apply conductive adhesive:
- Use a toothpick to apply a small amount of conductive adhesive to the broken wires
- Ensure the adhesive makes contact with both ends of the broken wires
Allow the adhesive to dry:
- Follow the manufacturer’s instructions for drying time
- Do not touch or move the ribbon cable while the adhesive is drying
Test the connection:
- Gently flex the ribbon cable to ensure the connection is secure
- Connect the ribbon cable to the LCD panel and test the display
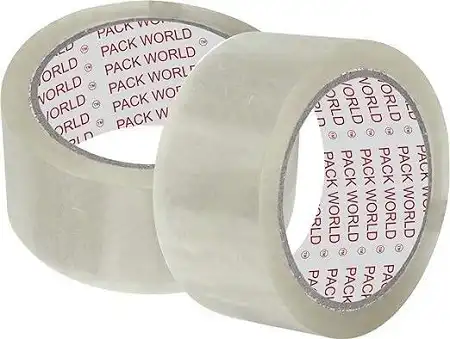
Method 3: Tape
Tape is the least common method for repairing LCD ribbon cables, but it can be a quick and easy fix for minor damage.
Steps:
Gather the necessary tools and materials:
- Kapton tape or electrical tape
- Scissors
Clean the ribbon cable:
- Remove any dirt or debris from the broken wires
- Use rubbing alcohol to clean the contacts
Apply tape:
- Cut a small piece of tape and carefully apply it to the broken wires
- Ensure the tape covers the broken wires and makes contact with both ends
Test the connection:
- Gently flex the ribbon cable to ensure the connection is secure
- Connect the ribbon cable to the LCD panel and test the display
Additional Tips
LCD ribbon cables are delicate and can be easily damaged. Use a soldering iron with a fine soldering tip, and use tweezers to handle the wires. Work in a clean and well-lit area. This will help you to see what you are doing and avoid making mistakes. Don’t rush the repair process. Take your time to make sure the repair is done correctly.
Frequently Asked Questions
Can I repair an LCD ribbon cable without professional assistance?
Repairing an LCD ribbon cable can be challenging and requires specialized tools and skills. If you have experience with electronics and feel confident, you can attempt minor repairs like using the hot air gun technique. However, for complex or extensive damage, it is recommended to seek professional assistance.
What are common signs of a damaged LCD ribbon cable?
Common signs include distorted display, flickering, lines on the screen, or no display at all. These issues may indicate a damaged or loose connection within the ribbon cable. Visual inspection is important to identify the specific area of damage.
Is the tape cutoff method a permanent solution?
The tape cutoff method is a temporary fix for irreparable or extensively damaged ribbon cables. It involves cutting off the damaged section and taping the remaining cable. While it may restore connectivity temporarily, it is not a long-term solution and could affect display quality. It is recommended to replace the cable for a permanent fix.
Parting Statements
Repairing LCD ribbon cables requires careful handling and technical expertise due to their delicate nature. While minor issues might be resolved with careful splicing or connector realignment, significant damage often necessitates cable replacement. DIY repairs should be approached cautiously, and seeking professional assistance is recommended for complex repairs to ensure the device’s proper functionality.
Subscribe to our newsletter
& plug into
the world of circuits