What Size Bleeder Resistor for Capacitor? | Find the Appropriate Size
The bleeder resistor size is defined by the formula, R = -t/C*ln(Vt/Vu), where Vt is the momentary voltage, Vu is the initial voltage, C is the capacitance and t is the momentary period.
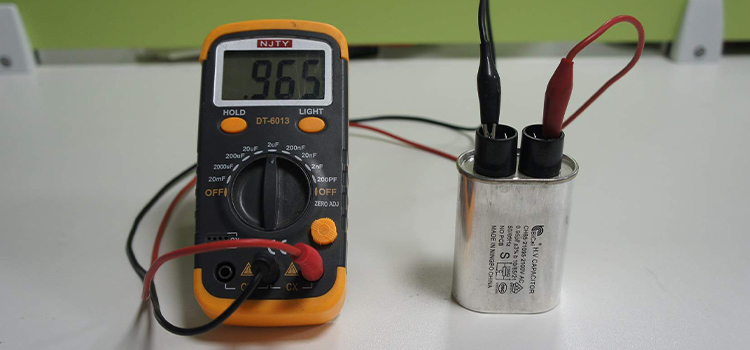
A bleeder resistor is connected in parallel with the output of a high voltage power supply or power amplifier to safely discharge the high voltage capacitors when the device is turned off. This is used as a safety feature to avoid electric shock.
How to Determine the Proper Bleeder Resistor Size for Your Capacitor?
The size of the bleeder resistor can be calculated by using the formula,
R = -t/C*ln(Vt/Vu).
Where Vt is the momentary voltage, Vu is the initial voltage, C is the capacitance and t is the momentary period. By putting these values in the equation, the size of the required bleeder resistor can be calculated.
If the bleeder resistor size is chosen small, the bleeding time will be fast, but in the case of a large value resistor, bleed time will be slower. On the other hand, the power dissipated by a resistor is, P = V2/R. If the resistance is low the power loss will be high. But for a larger resistor, the power loss will be lower than for a small one.
Also, the value of the resistor must be large enough so that it doesn’t interfere with the voltage source but low enough so that the discharge time is fast. Keeping these factors in mind the value of the bleeder resistor must be chosen accordingly.
What Size Resistor Do You Use to Discharge a Capacitor?
For a small value capacitor, a 2 kΩ 5W resistor can be used to safely discharge the capacitor. And for larger value electrolytic capacitors or supercapacitors, a 20 kΩ 5W resistor is enough for safely discharging the capacitor.
How Do You Choose a Bleeder Resistor?
For an effective bleeder resistor, the bleed time should be low and the power loss should also be low. The resistor should also be large enough so that it doesn’t interfere with the voltage source’s circuit. Keeping these factors in consideration the bleeder resistor should be selected.
What Should the Rating Be of a Bleed Resistor to Discharge a Capacitor?
For general purpose applications, a 2 kΩ 5W resistor should be enough to safely discharge a capacitor. For precision applications, the bleeder resistor can be calculated by using the formula, R = -t/C*ln(Vt/Vu). Where Vt is the momentary voltage, Vu is the initial voltage, C is the capacitance and t is the momentary period.
How Do You Select a Resistor for a Capacitor?
The bleeder resistor should be selected such that the discharge time is low and the power rating of the resistor should be sufficiently high enough to handle the power dissipated by the resistor safely.
Why bleeder resistor is used?
A bleeder resistor is used to safely discharge the high voltage filter capacitors of a high voltage power supply when the power supply is not in use. It is connected in parallel with the capacitors. The resistor discharges the capacitor over time. This makes the device safe to handle and avoids high-voltage shocks.
Conclusion
The size of the bleeder resistor is selected such that the bleed time is low and the power loss by the bleeder resistor is minimum and the resistance is high enough to not interfere with the rest of the circuit. Keeping all these requirements in mind the bleeder resistor size should be selected.
Subscribe to our newsletter
& plug into
the world of circuits